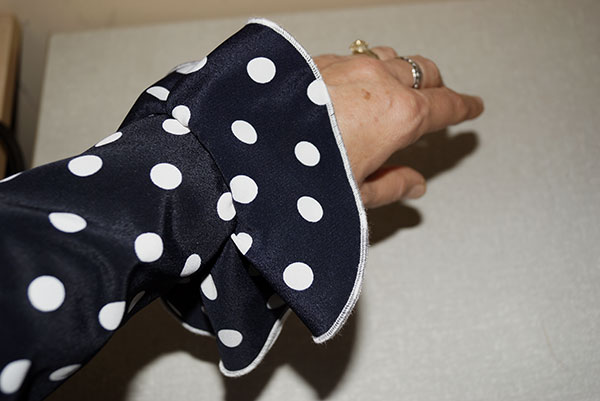
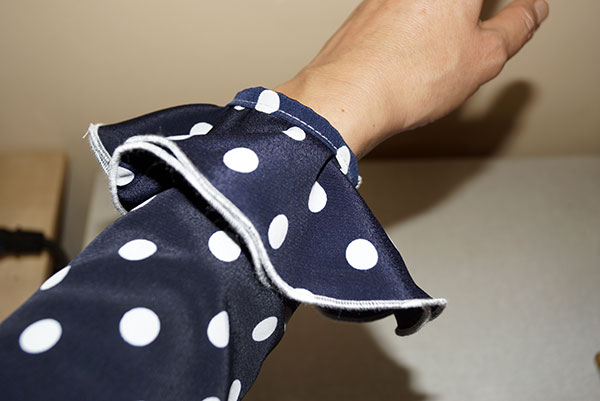
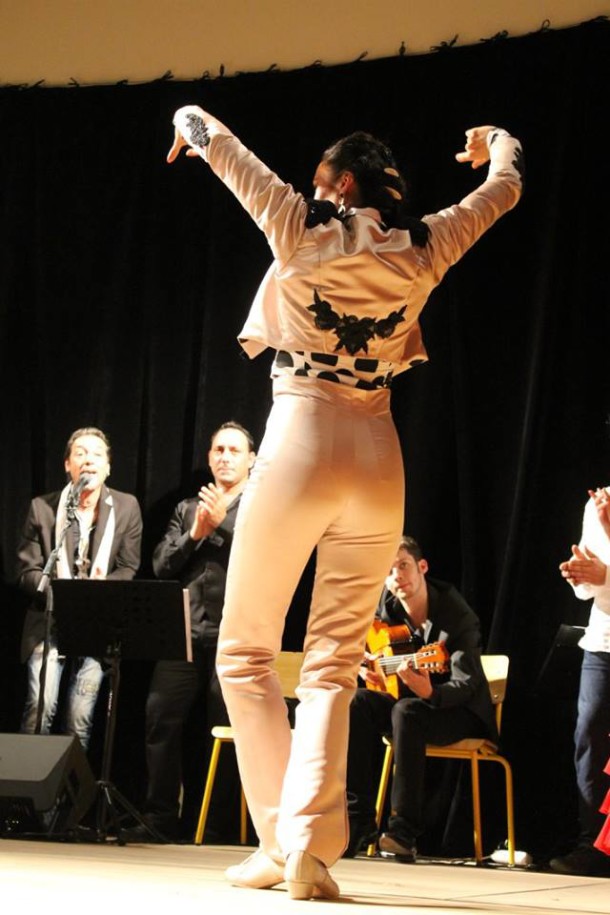
 Sleeves of flamenco dresses and tops often feature ruffles. They come in many shapes and sizes – single, double or triple, asymmetrical, circular, gathered, with adornments or without, on full or 3/4 length sleeves. There are also several ways to sew the ruffles onto the sleeve, depending on material and shape of the ruffle and the size of the sleeve. Whatever the method, when the dancer lifts the arms the ruffle falls back and the underside needs to be presentable.
In this tutorial I show you the method I use most often.
Preparing the Ruffles
For most fabrics I prefer the look of 2 circular ruffles for each sleeve, often the bottom one slightly bigger than the top one but that is of course optional. If the wrong side of your fabric doesn’t look that great you might want to cut two layers, place them wrong sides together, finish the outer edges together and treat them as one.
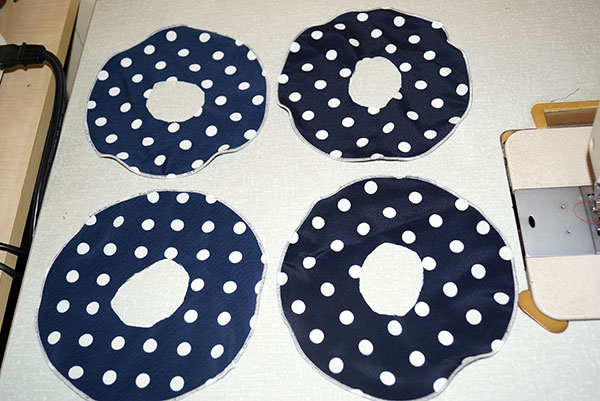
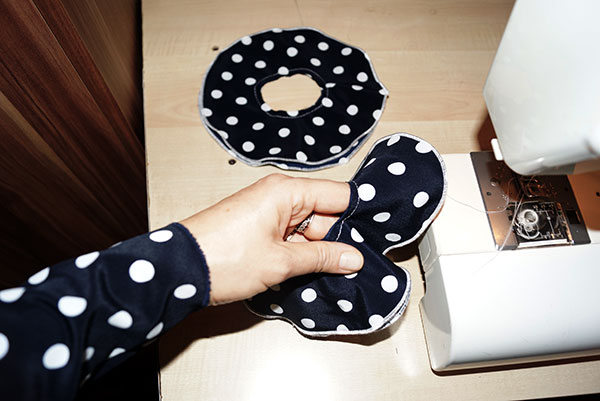
Cut the ruffles using the pattern that comes with the flamenco top pattern. If you don’t have a pattern for the sleeve ruffle make sure the inner circle of the ruffle is the same or only slightly larger than the circumference of the sleeve. Don’t cut the circle open.
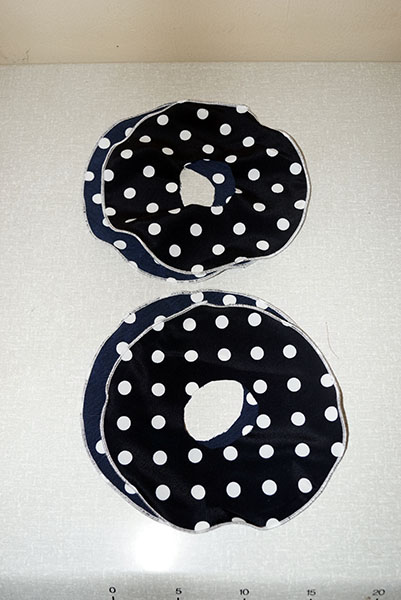
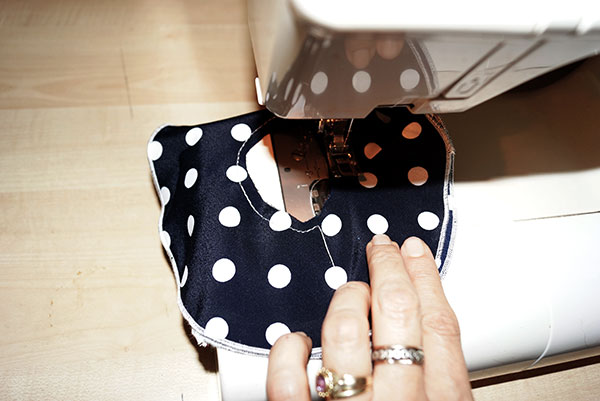
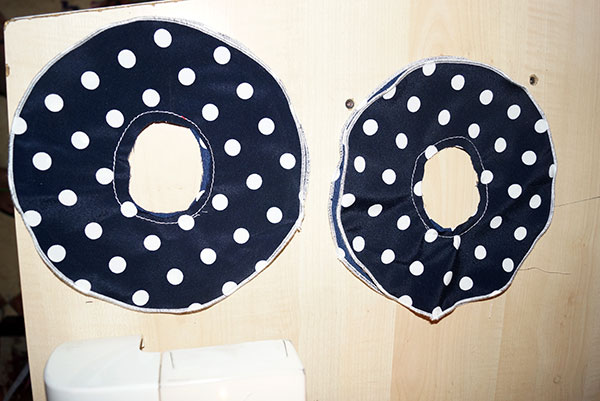
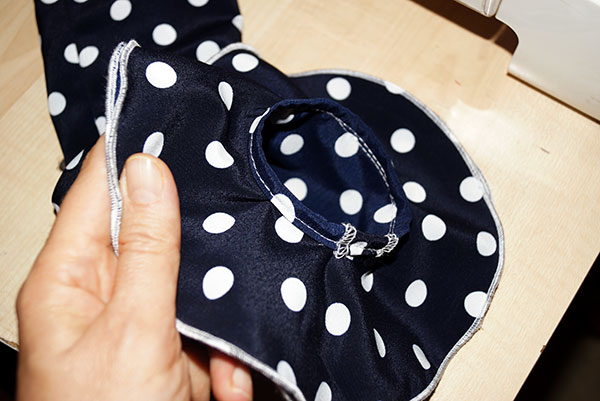
Finish the outer edges using a narrow rolled hem or any other way you like (see HOW TO FINISH THE RUFFLES OF A FLAMENCO DANCE COSTUME – NO SERGER, NO PROBLEM for ideas). Place the two circles for one sleeve one on top of the other and sew them together approx. 0.5cm from the inner edge. This step is optional. If using more than one layer of ruffles per sleeve I never skip it though. Sewing the ruffle to the sleeve means sewing in a small area and the fabric isn’t flat and open. Having the two ruffle layers joined and not having to worry about one slipping out of the seam makes life a lot easier. Leave the inner edge unfinished.
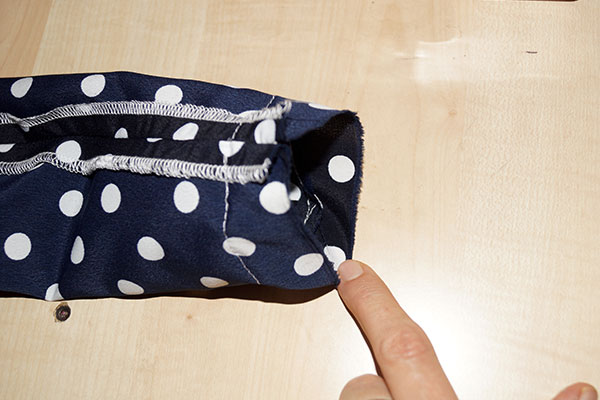
The sleeve is sewn, the wrist edge is unfinished and 3cm longer than the desired sleeve length.
Sewing the Ruffles to the Sleeve
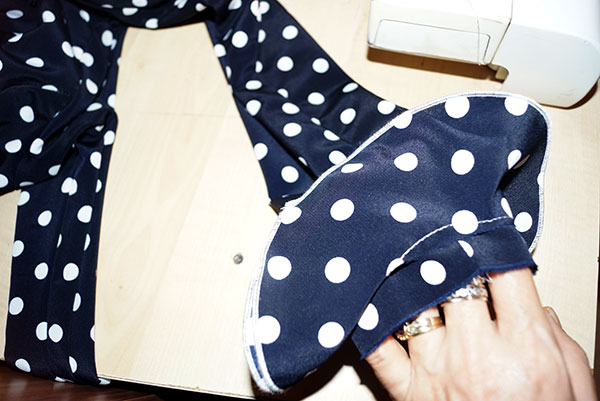
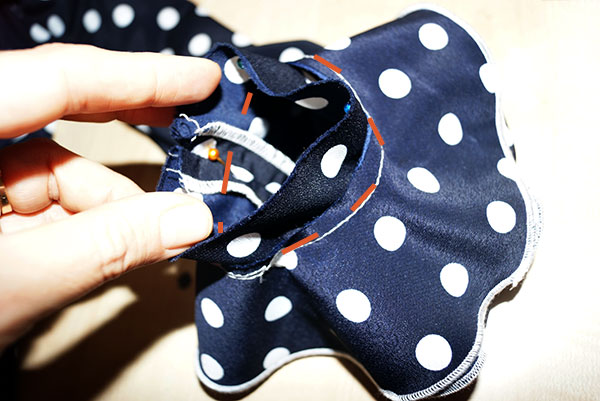
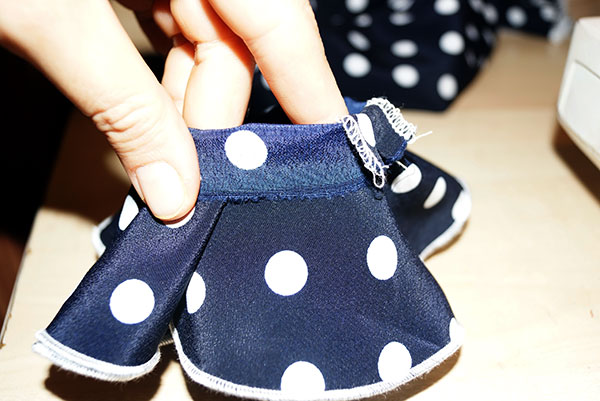
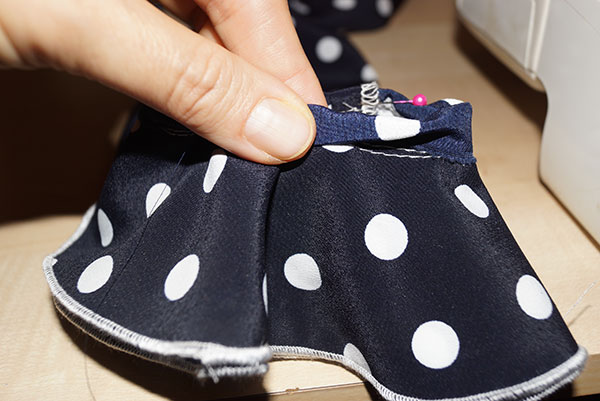
With the sleeve right side out position the ruffle/s 3cm from the sleeve edge, folded back towards the sleeve.
Then EITHER
- Pin in place maintaining an equal distance from the sleeve edge or baste in position.
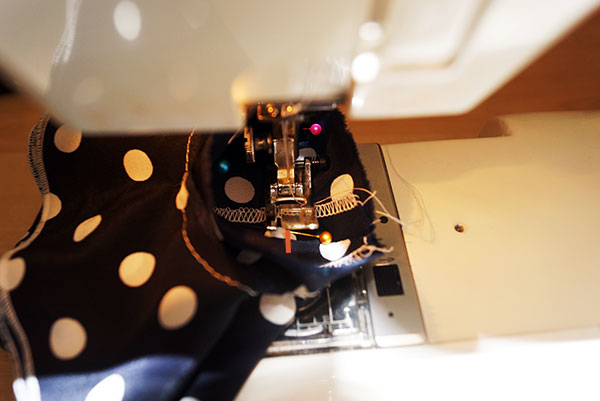
- If you are lucky and have a free arm sewing machine and the sleeve is wide enough to fit slide the sleeve onto the free arm and sew all the way round
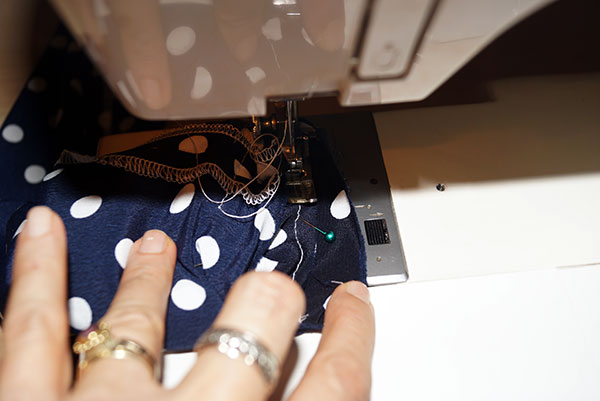
- Otherwise turn the sleeve inside out and sew from the inside
OR
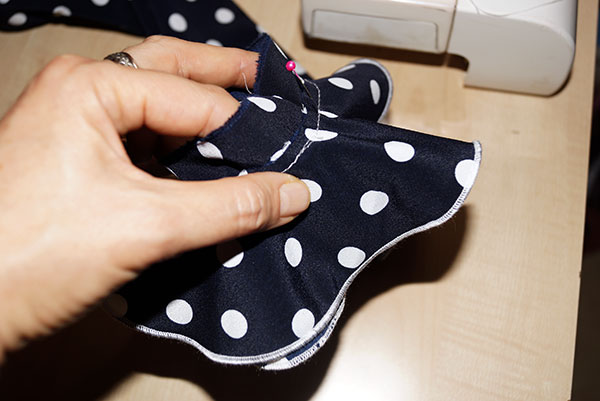
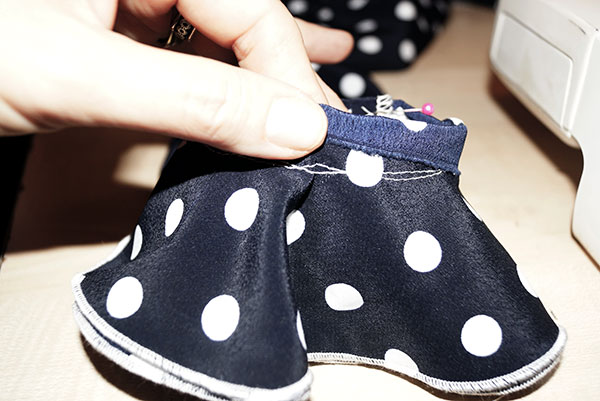
- Pin in place maintaining an equal distance from the sleeve edge, placing the pins on the inside, or baste in position.
- Sew from the inside with the ruffles underneath the sleeve (you won’t see the ruffle this way so it is important that you pinned or basted it in place well)
Choose this option when the sleeve does not fit onto the free arm and the ruffles are bulky and having them on the inside makes it difficult to sew.
Finishing the Raw Edges
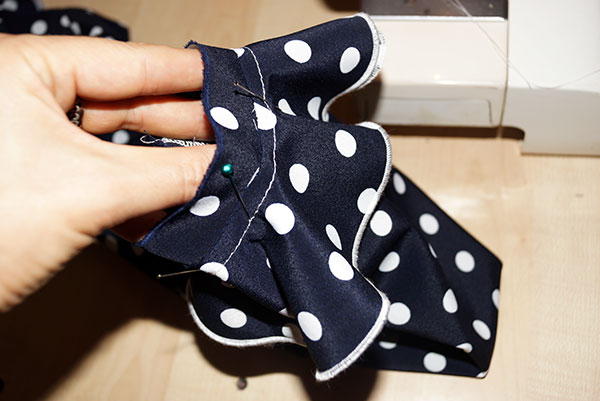
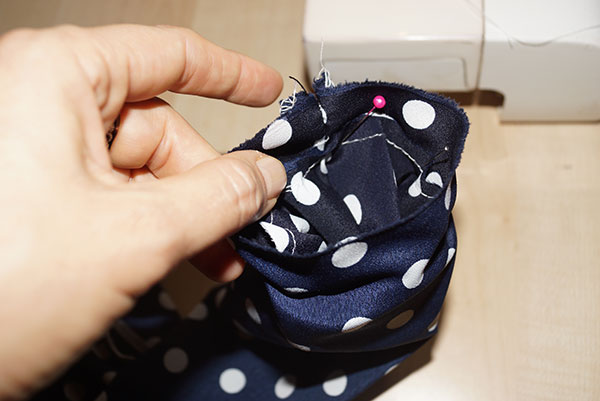
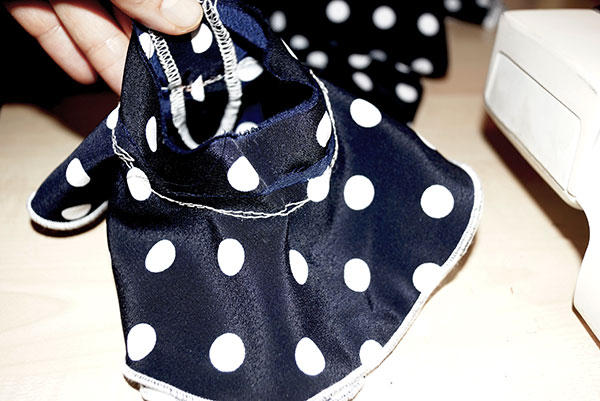
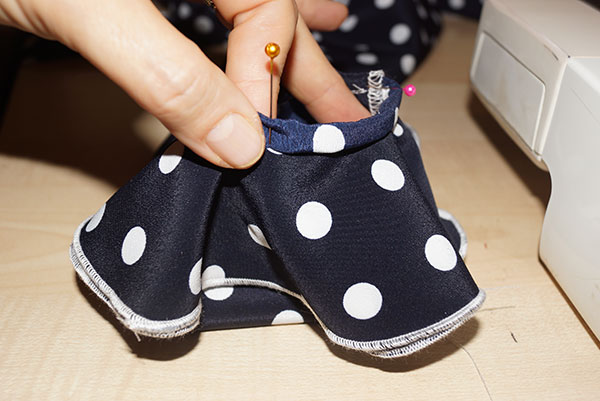
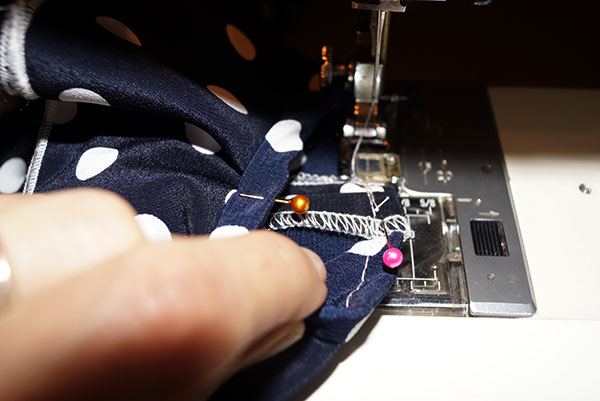
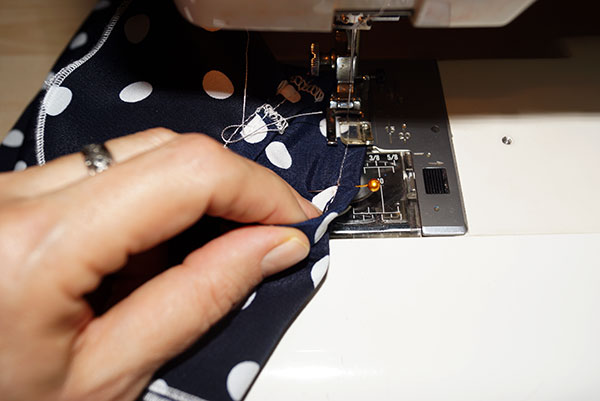
We’ll be using the actual sleeve to finish the raw edges. Fold the 3cm sleeve edge out over the ruffle edge, fold half the edge under, pin and sew in place from the inside, using the first seam as a guide
Alternatives
- You can also sew the ruffle at the very sleeve edge (0.5cm from the edge of ruffle and sleeve) and use bias binding to finish the raw edges. It is simpler but may leave the edge too stiff.
- Another option is to sew the ruffle at the very sleeve edge as above, finish the edges with a serger or zig zag stitch, fold the edge to the inside of the sleeve and sew in place. This is the simplest option but does not give a very nice and clean finish.
If you need to sew ruffles further from the sleeve edge than you can reach with the sewing machine you can either sew the ruffle in place by hand or cut the ruffle open and sew it in place before sewing the underarm seam. That may be the topic of another tutorial.



Thank you!!