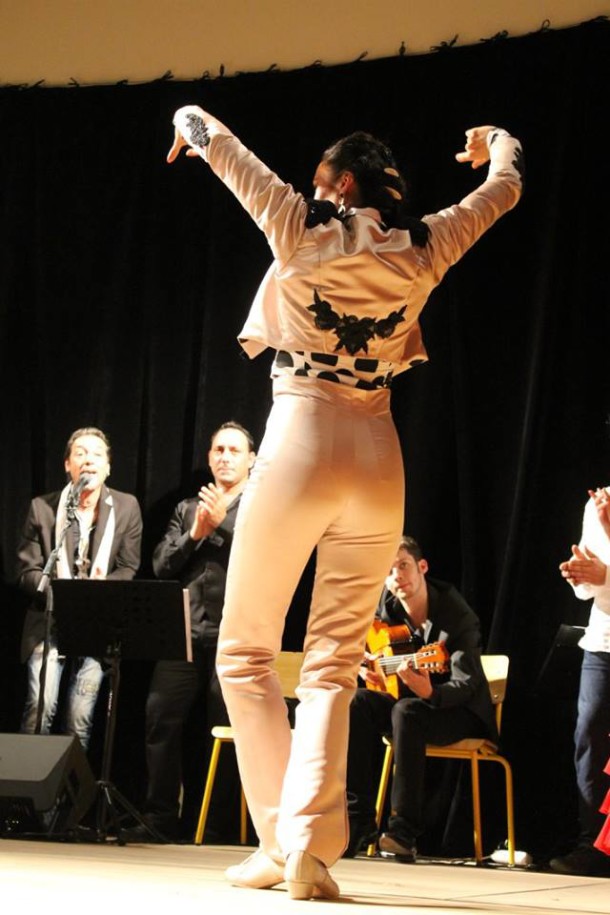
 Have you ever wondered what’s the best way to finish a flamenco top or dress neckline?
The traditional way, as I’ve seen in countless flamenco dresses, is to cut the front and back pieces with the desired neckline and finish with a separate facing. I never liked that technique for a number of reasons:
- it gives the dress a home made look (that may not bother you if you are just sewing for yourself but it sure bothers me 🙂
- it involves carefully stitching the facing to the lining and takes ages (not an issue if you are sewing one outfit but if you are making dresses for a group of several dancers that means hours of extra work)
- no matter how careful you are stitches can sometimes show on the outside – not pretty
Well, given that flamenco tops and dresses are usually interlined, there is a much easier and quicker way, one that isn’t “fiddly” and doesn’t involve hand stitching:
Finishing the neckline (front and back) is the first thing you do after cutting out the outer fabric and lining pieces
Wait but .. what if I need to adjust the neckline later?
That’s a risk I’m happy to take. This technique is really quick so I’m not losing a lot of time. If I need to open up the neckline later I can still add a facing, if it is too low or too wide I have a problem anyway .. The thing is, if you know the pattern or made up a muslin beforehand that will hardly every happen and you can go ahead without worry.
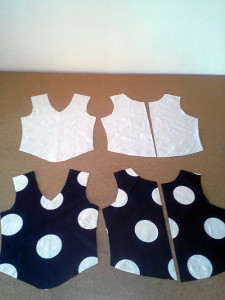
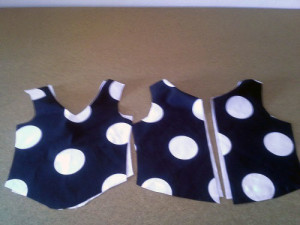
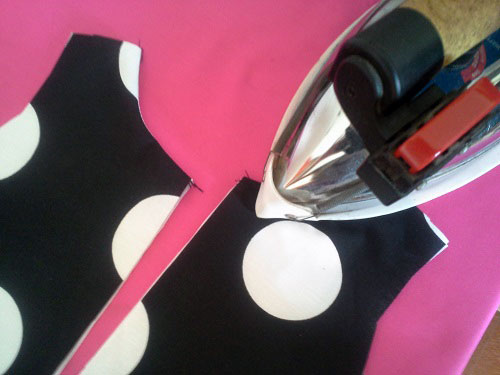
Start off with the front and back pieces cut out from outer fabric and poplin lining:
Leave only 5mm seam allowance around the entire neckline. This saves the tedious task of trimming the seam allowance later.
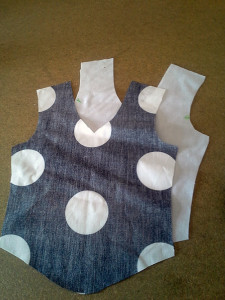
Place the corresponding outer fabric and lining pieces, right sides together. The poplin lining fabric doesn’t really have a right or wrong side but if you have marked any notches on the lining fabric that would be the “right side”.
I always place the outer fabric on top of the lining, about 1mm set in. This way outer fabric and lining match up perfectly after understitching and turning:
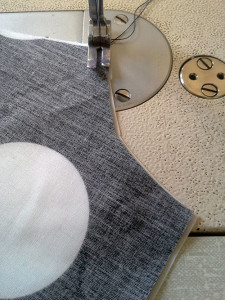
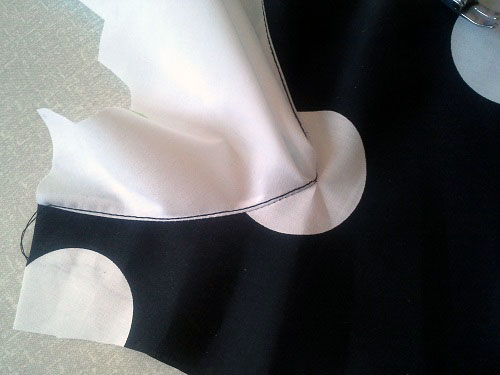
Sew leaving 5mm seam allowance (measuring from the edge of the lining). If there is a corner be sure to turn precisely in the center (marking the center line before stitching helps):
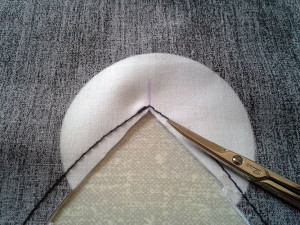
Trim seam allowances for corners cutting right to the stitch (but not through it :-):
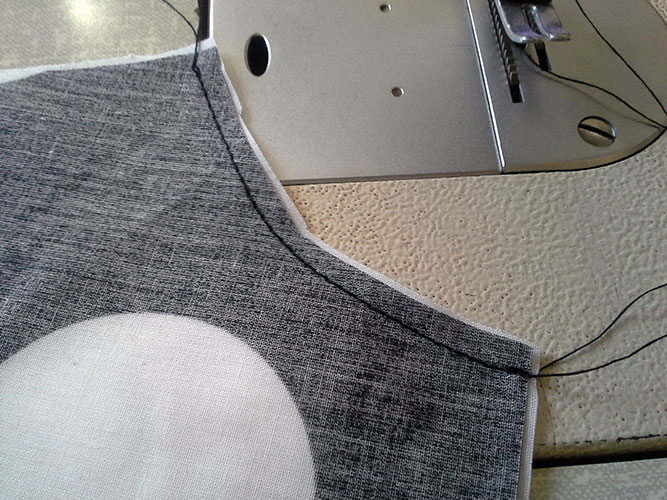
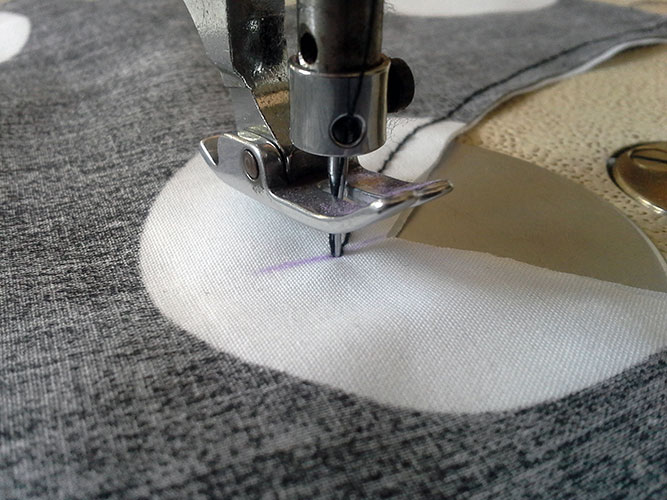
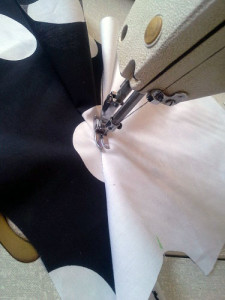
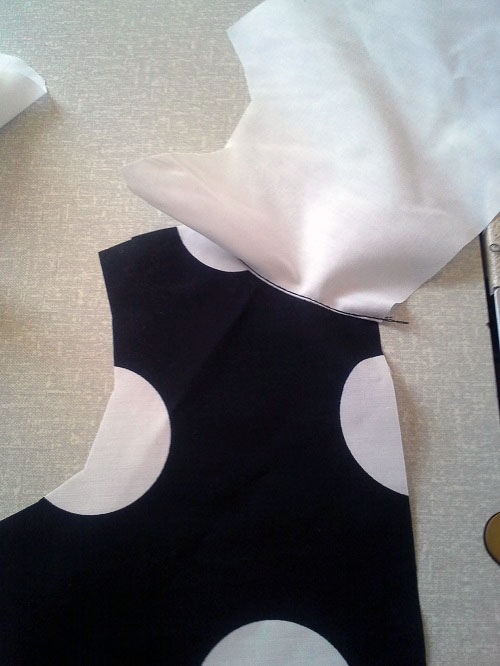
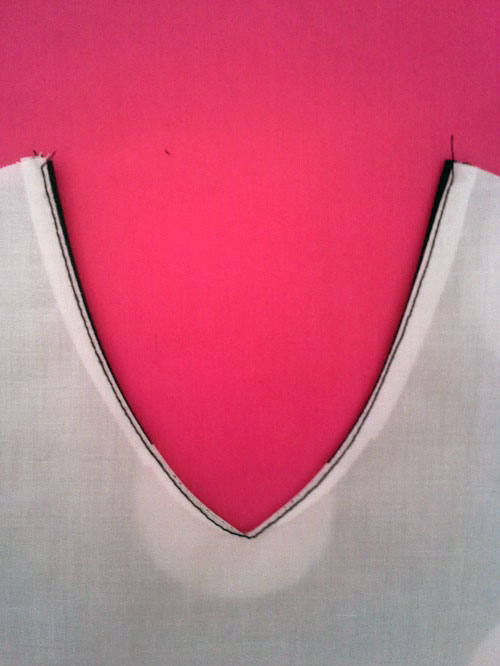
Turn the pieces around so the lining is on top. Fold the lining over the seam allowance and understitch (stitch the lining onto the seam allowance approx. 1mm from the seam joining lining and outer fabric).
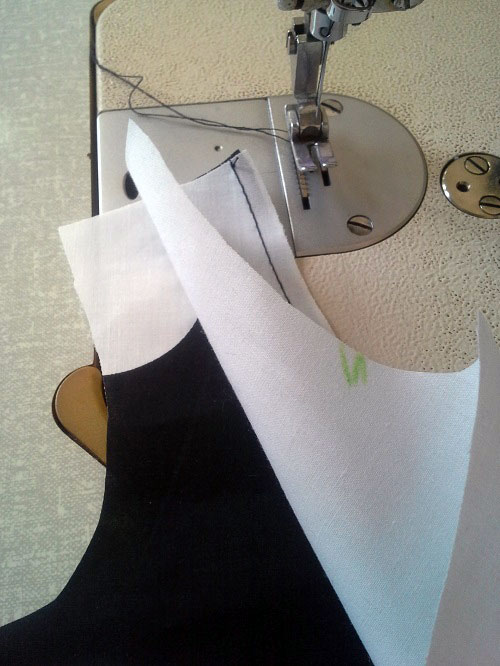
For corners sew right to the center point, then lift the presser foot, adjust the lining before continuing:
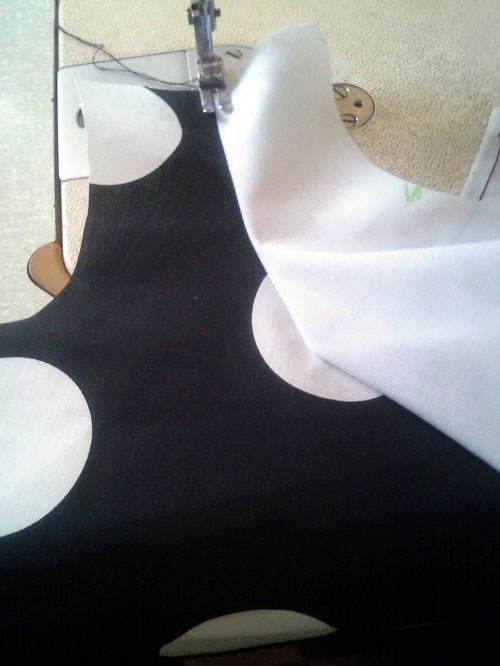
You’ll end up with the entire neckline understitched:
Turn the lining to the inside ..
Press ..
.. and enjoy a beautiful, crisp finish.
I use this technique for most of the tops and dresses I make. If a dress has a low neckline in the back I finish with bias tape and a cord, the way you may have seen in “feria” dresses. It allows to tighten the neckline and makes sure the dress doesn’t slip off the shoulder. Let’s leave that one for another tutorial though ..
If you’re ready to have a go check out the flamenco top pattern:

